- With your html file open in IE, go to File > Print Preview. This is how your file will look when printed. Hopefully no words or pictures are being cut off on the sides. If they are, you will need to adjust your margins or move your pictures.
- Look at your file and determine the first place you think a page break should occur. This is usually where a picture is being cut in half across two pages or where a title is printed at the bottom of one page while the rest of the entry is on the next page.
- In Nvu, locate the spot where you want to insert the page break and place your cursor at that spot.
- Now for the html part. Click on the "Source" tab at the bottom of the Nvu screen. This will switch to the html code and your cursor will be in the same spot it was in before. In other words, this is exactly the spot you want to insert the page break.

- At this location paste this html code:
<p style="page-break-before: always"></p> - Save the file (File > Save). When you return to the "Normal" tab, the page won't look any different. The only way to see if it worked is to check the print preview.
- Return to IE. Close the previous print preview (if still open). Refresh the page. Open the print preview again to see the effect of your change.
- Repeat these steps until the preview looks just right. Note: This process can be very slow if your file has a lot of pictures since IE can take a while to load pictures. This is one of the main reasons why it helps to download only a few months of blog entries in each file instead of a whole year or more.
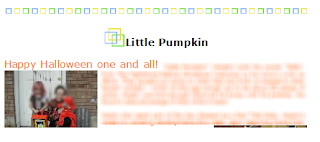
 In this example, two pictures are being cut off at the bottom of the page. I'd like to push the entire entry onto the next page.
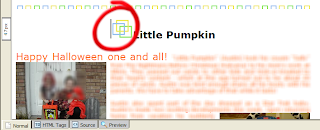
 On my page, I want the page break right before the title, so I put my cursor there.


